So, you're either looking to improve your pistol grip or you're just getting started with pistol shooting. Well, then this blog is for you!
We'll go over all the fundamentals — and more importantly — how to train and test your grip effectively.
Here's what we’ll cover:
- The importance of gripping
- A full guide on how to properly grip a pistol
- Optional adjustments and tools for you individually
- How to train and test your grip strength
[DISCLAIMER]
My brother and I have helped a number of people with this in the past, and we’ve seen some solid improvements.
However, we’re not certified instructors, nor do we think that always matters, especially with some of the things we've seen online.
That said, we’ll do our absolute best to pass on what we’ve learned through years of hands-on experience.
But before we dig into this subject if you want quality gear and like our work, please support us by buying over our store!
1. Why Grip Matters
Grip only becomes truly important when you start thinking about follow-up shots, assuming your trigger control and other fundamentals are solid.
Yes, it’s possible to shoot accurately with a bad grip if you take your time.
But grip is key when it comes to controlling recoil. A better grip results in a flatter impulse, which means your gun returns to the same spot after every shot. This allows for faster and more accurate follow-ups.
In combat or defensive shooting, fast hits at close range are vital. And for that, we’d argue that grip is even the most important fundamental in this context.
Many people focus too much on their trigger finger, but remember — your grip involves way more muscle groups. A solid grip can even reduce errors caused by poor trigger control.
A common sign of a bad grip is what's called "milking the gun" — when shooters constantly readjust their support hand mid-shooting. You want to avoid this.
So, what you need to do in short is grip like a vice. But how is that done?
By applying inward, linear, and downward pressure by using your two hands.
This comes down to both strength and technique, and how much of each you need depends on you as a person.
The balance between those two really depends on you as a shooter. Someone with naturally strong hands might not need to rely as much on refined technique, while others will need to compensate more with skill and consistency.
Gripping is also highly individual and tied to both the user and the firearm. Hand size, finger length, and overall anatomy all play a role. Just like the design of your pistol: grip angle, frame size, and where the controls are placed, all influence how you interface with the gun.
These are personal variables you can only figure out through experience, which is why choosing the right pistol matters so much. It’s something we covered in our earlier video on why we didn’t go for a Glock. Here's the link if you haven't seen it.
In the end, grip is personal. There are subtle details that only reveal themselves over time. But the good news is that there’s a solid baseline to get started — and that’s exactly what we’ll dive into next.
2. How to Grip a Pistol: The 5 Key Points
We break down proper grip into five key points:
If you find the need to have this visualized please have a look at the video at 5:09 or click this link to start the YT video from there.
1. Center of Gravity
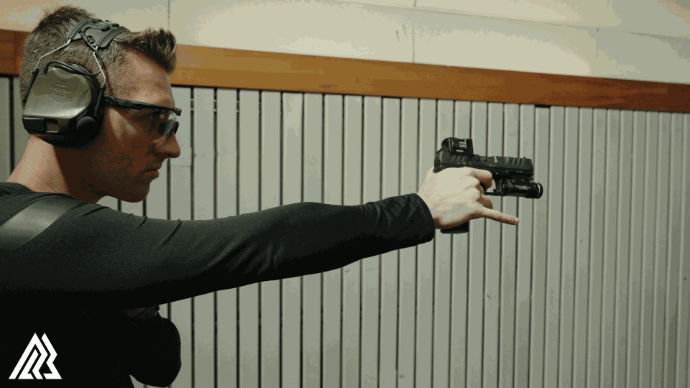
Think of a fighting stance and lean slightly forward. This helps you keep balance while absorbing recoil during rapid fire.
But keep in mind, you’ll often shoot from other positions too: kneeling, prone, using cover, etc. So there’s no one-size-fits-all stance. The only thing you have to remember is to maintain that slight forward center of gravity.
2. Master Grip
This is critical! Your master grip dictates everything that follows. That’s why your draw stroke and a good holster are so important.
For this, place the meaty part between your thumb and index finger as high as possible on the pistol grip (called a high tang grip).
Avoid “monkey gripping” like you would a stick. Instead, apply leverage:
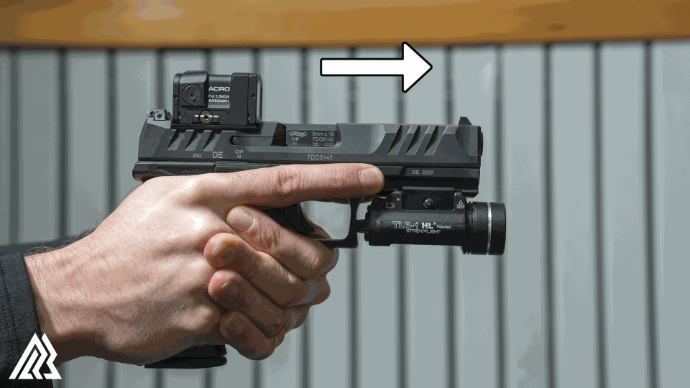
- Push your thumb forward
- Engage pinky power
- Keep your trigger finger off the trigger and your thumb raised for now
3. Support Grip
Use your index finger as a guide to marry both hands together.
We personally use the section between the two knuckles of our index and middle finger on the strong hand as a reference.
Then, apply a nutcracker motion to squeeze the grip. Don’t place your palm first — that reduces your force.
Position your support hand thumb high on the frame, but not so high it interferes with the slide lock.
Your strong hand thumb should rest on your support hand without adding force.
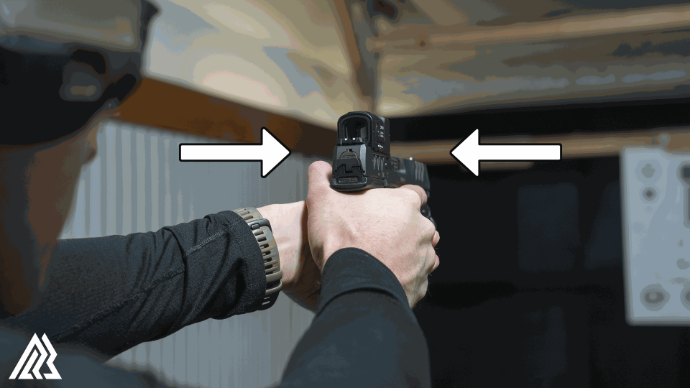
4. Pressure
Forget the "60/40%" nonsense. You want equal inward pressure from both hands.
Too much pressure? Your hands will shake.
Just right?
- You’ll see your grip texture imprinted in your palm
- Your fingers will turn slightly white
- Your hands should get tired over time
And don’t underestimate how much your support thumb helps keeping the gun aligned.
5. Form
Push the gun out to about 70% extension, not full.
- Fully locked elbows can’t absorb recoil well
- You also can’t apply proper inward pressure when fully extended
- Lock your wrists, and you’ll see the tendons flex on the back of your hands
- Don’t raise your elbows too high either — keep them down enough to avoid shoulder tension.
[Recap]
- Forward center of gravity
- High tang master grip — no monkey grip — leverage, pinky power
- Support grip — marry hands, nutcracker motion, high thumb, thumb resting
- Equal inward pressure — grip hard but not so hard you shake
- Proper form — 70% extension, locked wrists, not too high elbows, relaxed shoulders
3. Optional Variations: What May Work Better for You
Physical Variations
- Middle finger marriage point instead of index
- Index finger on the trigger guard — some say it helps with recoil control (not compatible with mounted lights/lasers)
- Trigger finger frame reference — place your trigger finger along the frame for better stability (fewer moving joints = more consistency)
- Thumb placement — we've seen thumbs up, down, or even floating off the frame. All can work
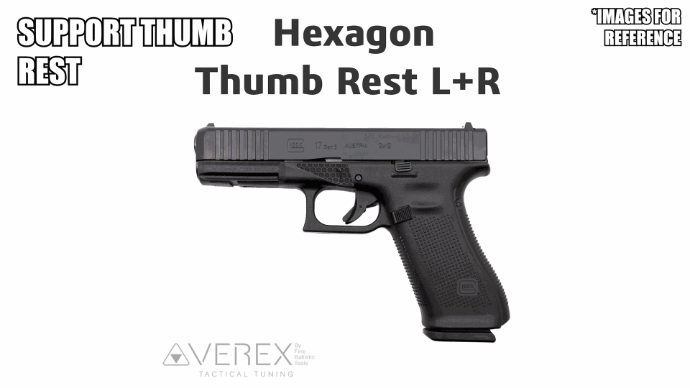
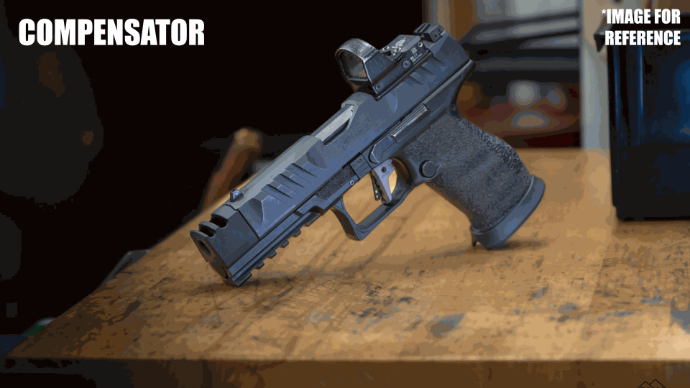
Tools That Help
- Support thumb rests — allow for downward pressure with your thumb
- Compensators — redirect gases upward to counter muzzle rise (prohibited in Europe as far as we know)
4. How to Train & Test Your Grip
Dry Fire Practice
- Start slow
- Focus on consistency
- Practice from the draw or compressed ready
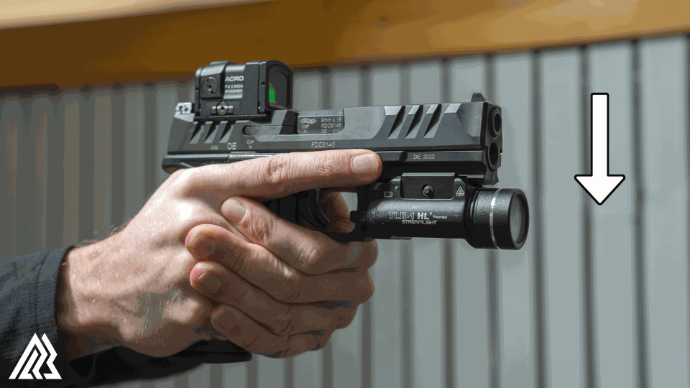
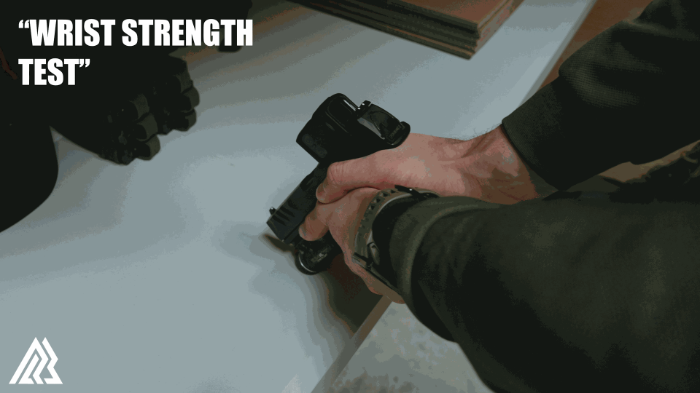
Wrist Strength Test
- Grip your pistol normally
- Lean the muzzle down onto a table
- Feel how much wrist strength is needed to keep the gun straight
Marker Line Check
- Have a buddy draw a marker line over your thumbs when your grip is correct
- Re-check it during your session to see if your grip remains consistent

Support Hand Test
- Load one round in the chamber
- Empty mag
- Shoot using only your support hand in your normal two-handed grip position
- If the gun stays on target, your support hand strength is solid
One-Shot Drill
- Fire one round
- Watch your sights return — it’ll tell you how solid your grip is
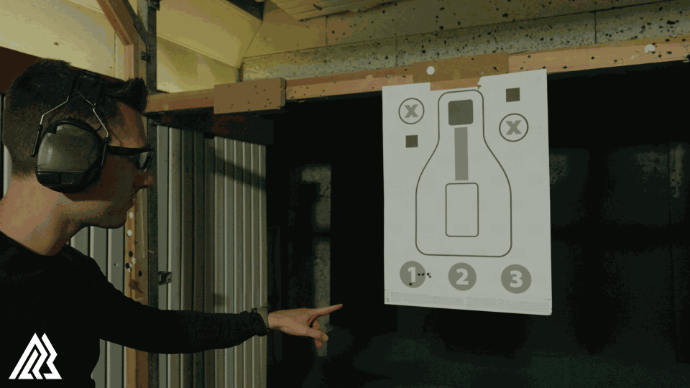
Group Drill
- Fire 5–6 rounds at 3 meters
- Check your grouping and pattern for grip feedback
5. Grip Strength Training
- Adjustable grip strength tool – Cheap and effective
- Dumbbell wrist curls – Focus on neutral and reverse curls (we use 3 kg)
- Dead hangs – Use a bar, aim for at least 45 seconds (we do 1 minute)
- Knuckle push-ups or dumbbell push-ups – Great for strengthening your wrist stabilizers
So there you go! Start with the basics, test different options, and find what works for you.
Then focus on training consistently to improve both strength and technique.
Thanks for reading, and as always — train smart and stay sharp!
Hopefully this blog was helpful for you. If you’re looking for these sort of products, accessories and much more cool stuff make sure to visit our webshop.